Create a Blog With Nuxt Content v2

I prefer simple Markdown files as the content source for my blog posts. In this article, I want to show you how can set up a simple blog using Nuxt Content v2.
Nuxt Content v2
Nuxt Content v2 is a Nuxt 3 module that reads local files from the /content directory in your project. It supports .md, .yml, .csv and .json files. Additionally, it’s possible to use Vue components in Markdown with the MDC Syntax.
Setup Nuxt App
First, let’s start a new Nuxt Content project with:
npx nuxi init nuxt-demo-blog -t content
Then we need to install the dependencies in the nuxt-demo-blog folder:
yarn install
Now we can start the Nuxt content app in development mode:
yarn dev
A browser window should automatically open for http://localhost:3000. Alternatively, you can start playing with Nuxt Content in your browser using StackBlitz or CodeSandbox.
The following StackBlitz sandbox demonstrates the simple blog application we create in this article:
Blog Content Structure
Our demo blog will have this structure inside the /content directory:
├── blog
│ ├── _index.md
│ ├── a-great-article
│ └── cover.jpg
│ │ └── index.md
│ └── another-great-article
│ └── cover.jpg
│ └── index.md
blog/_index.md is a Partial content that will show a list of all available blog posts.
Each blog post has its directory, including an index.md and a cover.jpg file.
The index.md files include Front-matter at the top of the file to provide meta-data to pages, like title, date, and the cover image URL:
---
title: A Great Article
date: 2018-05-11
cover: /content/blog/a-great-article/cover.jpg
---

This is a great article body!
Simple Navigation
First, we need simple navigation in our application to be able to navigate to our blog page.
Let’s start by adding a default layout in layouts:
<template>
  <div>
    <nav>
      <NuxtLink to="/" class="link">Home</NuxtLink>
      <NuxtLink to="/blog" class="link">Blog</NuxtLink>
    </nav>
    <main>
      <slot />
    </main>
  </div>
</template>

<style>
.link {
  margin-right: 1rem;
}
</style>
In our app.vue we need to wrap the NuxtPage component with the NuxtLayout component:
<template>
  <div>
    <NuxtLayout>
      <NuxtPage />
    </NuxtLayout>
  </div>
</template>
Finally, we create a index.vue in pages directory:
<template>
  <h1>Home</h1>
</template>
Blog List
Let’s look at how we can implement a list of all available blog posts.
First, we need to create a BlogPosts.vue Vue component in components/content/ that queries and renders all available blog posts:
<template>
  <h1>Blog</h1>
  <ul>
    <li v-for="{ _path: slug, title } in blogPosts" :key="slug">
      <NuxtLink :to="slug">{{ title }}</NuxtLink>
    </li>
  </ul>
</template>

<script setup lang="ts">
const blogPosts = await queryContent('/blog')
  .sort({ date: -1 }) // show latest articles first
  .where({ _partial: false }) // exclude the Partial files
  .find();
</script>
We use the queryContent function from Nuxt to query a list of our blog posts.
Now we can reference this Vue component inside our content/blog/_index.md file:
---
title: Blog
---

::blog-posts
We can use any component in the components/content/ directory or any component made available globally in your application in Markdown files.
If we now click on the “Blog” navigation link in our application, we can see a list of all available blog posts:
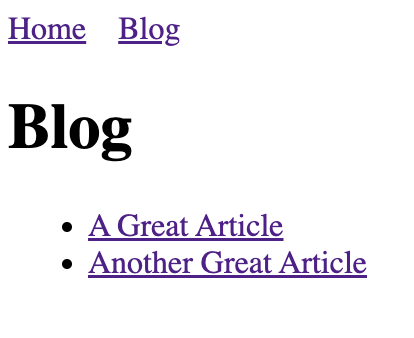
I reported a Nuxt content bug that you need to reload some routes; otherwise, their content is not visible.
Blog Post Page
Finally, we need to create a dynamic route for the blog posts. Thus, we create a [...slug].vue file in pages/blog:
<template>
  <ContentDoc
    :path="$route.params.slug ? `/blog/${$route.params.slug[0]}` : '/blog'"
  >
    <template #not-found>
      <h2>Blog slug ({{ $route.params.slug }}) not found</h2>
    </template>
  </ContentDoc>
</template>
We use the current slug in the route parameters ($route.params.slug) to determine whether we want to render the blog post list or an individual blog post.
We can now see the content of the corresponding blog post:
Conclusion
It’s effortless to create a Markdown file-based blog using Nuxt Content v2. This article demonstrates the basic steps to set up such a blog.
You can expect more Nuxt 3 posts in the following months as I plan to blog about interesting topics that I discover while rewriting my portfolio website.
If you liked this article, follow me on Twitter to get notified about new blog posts and more content from me.
Alternatively (or additionally), you can also subscribe to my newsletter.