Boost Your Productivity By Using The Terminal (iTerm & ZSH)

Cover image
Using the terminal is one of the biggest productivity boosts you can gain in your daily work as a developer. If you know your shortcuts, you will be way faster than using the mouse. In this article, I want to show you my terminal setup and how I use it on a daily basis. The cover image shows my current setup in action.
I am a macOS user so the article is mainly focused on this operating system but most of the software I demonstrate is also available for Windows and Linux users.
Install Homebrew
Homebrew is the missing package manager for macOS (or Linux) and makes installing packages super easy.
To install it on macOS you just need to paste this command in your terminal:
After that you should be able to run brew, you can check the successful installation by running brew -v in your terminal:
▶ brew -v Homebrew 2.2.4 Homebrew/homebrew-core (git revision 22532 ; last commit 2020-01-31) Homebrew/homebrew-cask (git revision 19d828; last commit 2020-01-31)
iTerm2
I would recommend replacing the default Terminal.app in macOS by iTerm2.
You can install it using brew:
Some of the best iTerm features:
Split your terminal into multiple panes which you can switch by hotkeys
Register a hotkey that brings the terminal to the foreground when you’re in another application
A robust find-on-page feature
Different user profiles to save your window arrangements and more
Paste history that shows everything you’ve pasted into the terminal
and many more)
ZSH and Oh My ZSH
Since macOS Catalina (10.15.2) the default shell is now ZSH instead of Bash. You can enrich ZSH by using the Oh My ZSH framework which provides some functionality that will boost your productivity:
- Autocompletion by pressing
Tabkey which allows selecting available directories, commands and files.

Use alias commands, you can get a list of all available alias by running
aliasin your terminalYou can omit the
cd(change directory) command:..(instead ofcd ..),../..(instead ofcd ../..)/(for root directory) and~(for home directory)takecommand creates a new directory and changes the path to it. Example:take testFolderis the same asmkdir testFolder && cd testFolderUse
-to quickly navigate between your last and current pathMany cool themes
A list of amazing plugins
Git integration
And many more…
You can install it using this terminal command:
Oh My ZSH can be configured via the .zshrc configuration file:
My .zshrc configuration looks similar to this one:
I use the avit theme but there are many other cool themes available.
Some words about the used plugins, here you can find a list of all available Oh My ZSH plugins:
git: provides many aliases and a few useful functions for git.
brew: adds several aliases for common brew commands.
docker: adds auto-completion for docker.
npm: provides completion as well as adding many useful aliases for npm.
osx: provides a few utilities for OSX.
bgnotify: cross-platform background notifications for long running commands

web-search: adds aliases for searching with Google, Wiki, Bing, YouTube and other popular services.
zsh-autosuggestions: suggests commands as you type based on history and completions
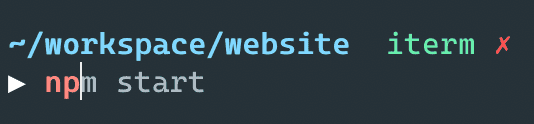
zsh-syntax-highlighting: provides syntax highlighting for the shell zsh, red for invalid and green for valid commands:

Use Material Theme
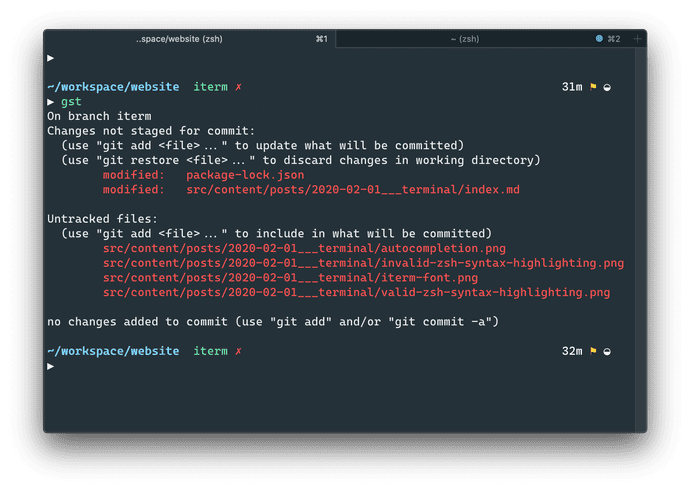
I really like Material Design so I also use it in iTerm thanks to this iTerm2 color scheme. Installation instructions can be found here.
The result should look similar to my terminal:
Use Minimal Theme
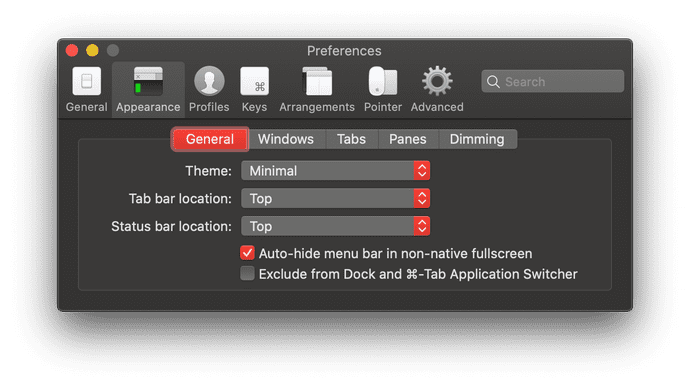
Choose Minimal theme to have a cleaner UI with smaller tabs as shown in the screenshot above:
Change font to Cascadia Font
I use the Cascadia Font from Microsoft in iTerm. After installing the font on your operating system you need to select it as a font in your iTerm profile:

Good CLI tools
In this chapter I want to demonstrate some CLI tools which I regularly use in my terminal and which can highly increase your productivty:
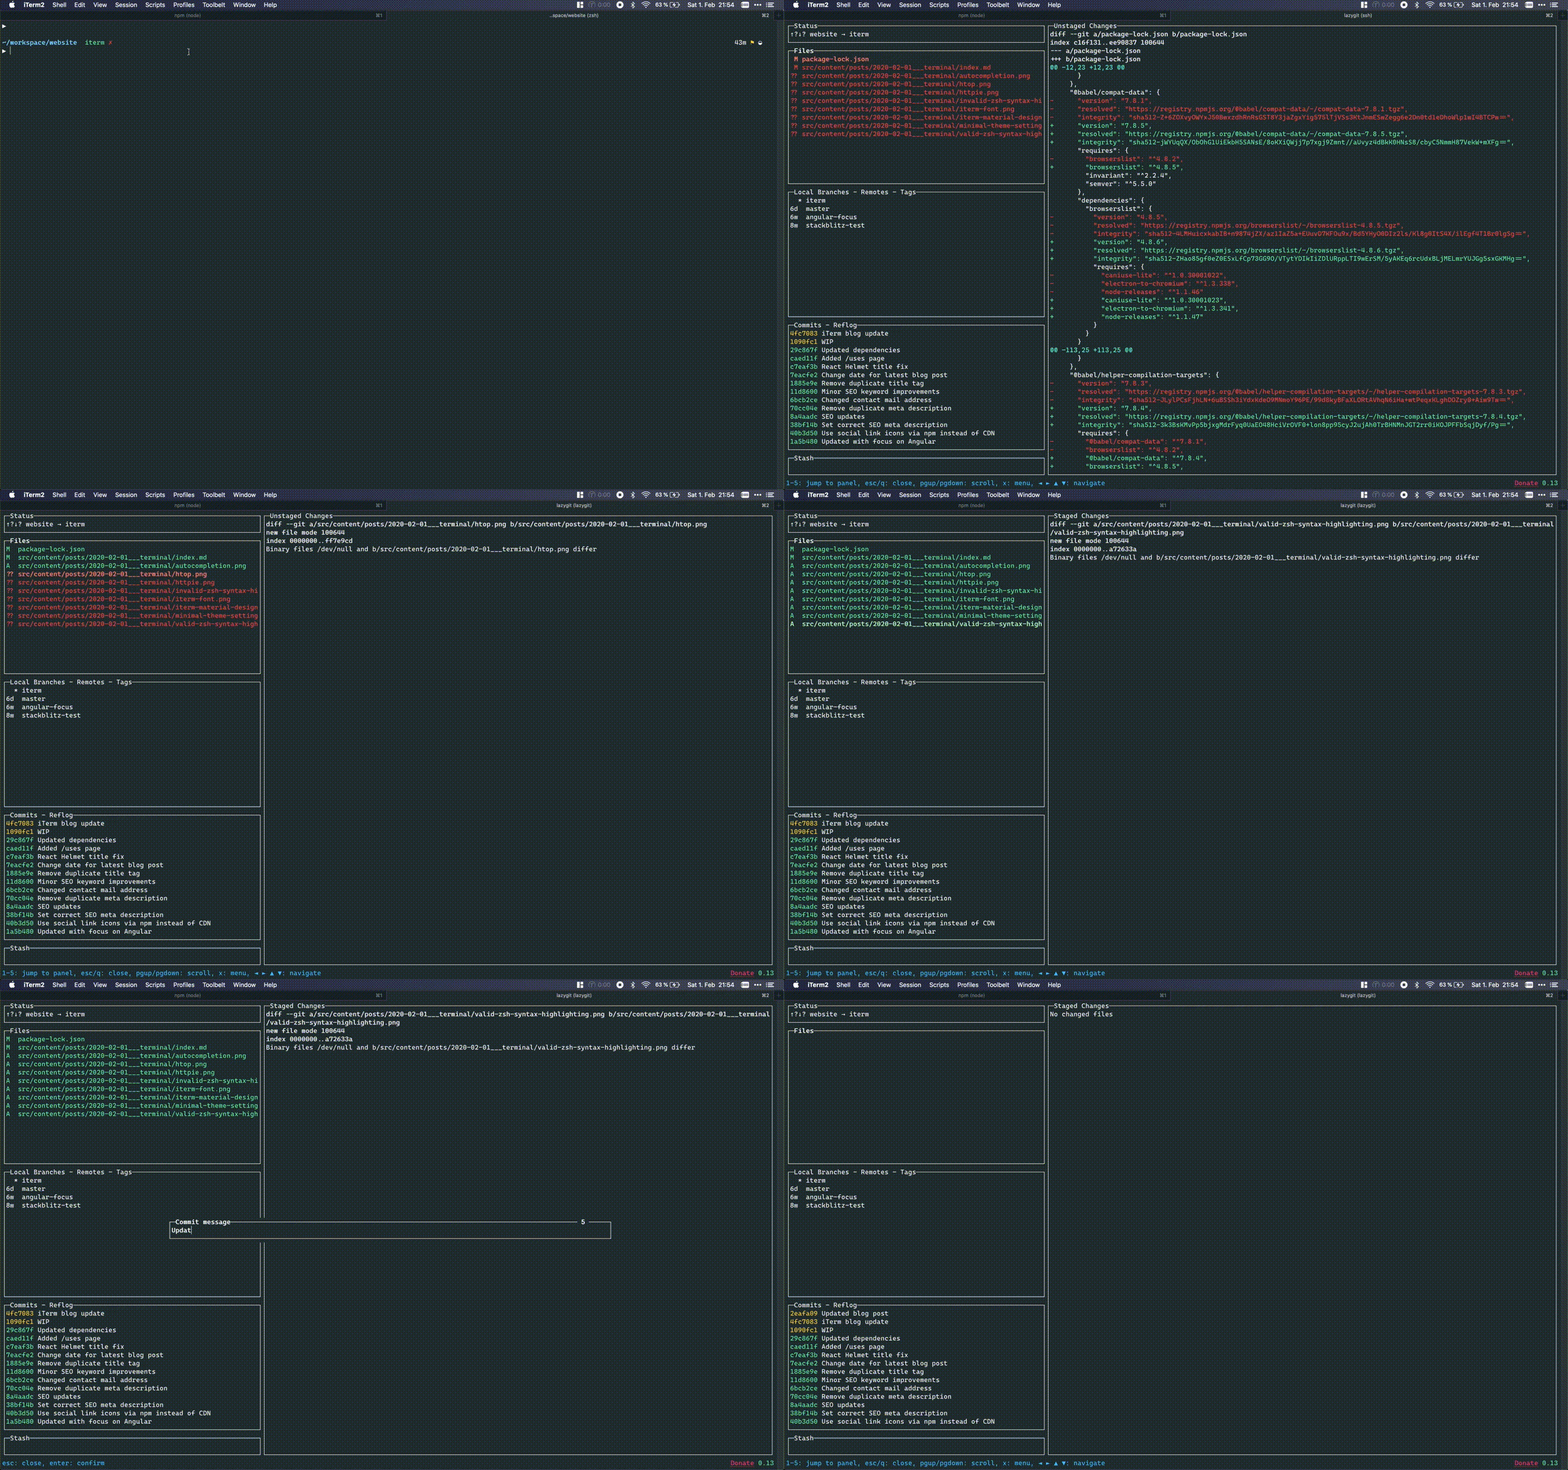
- lazygit: a simple but amazing terminal UI for git commands
- HTTPie: a command line HTTP client with an intuitive UI, JSON support, syntax highlighting, wget-like downloads, plugins, and more which I often use instead of graphical programs like Postman or Insomnia
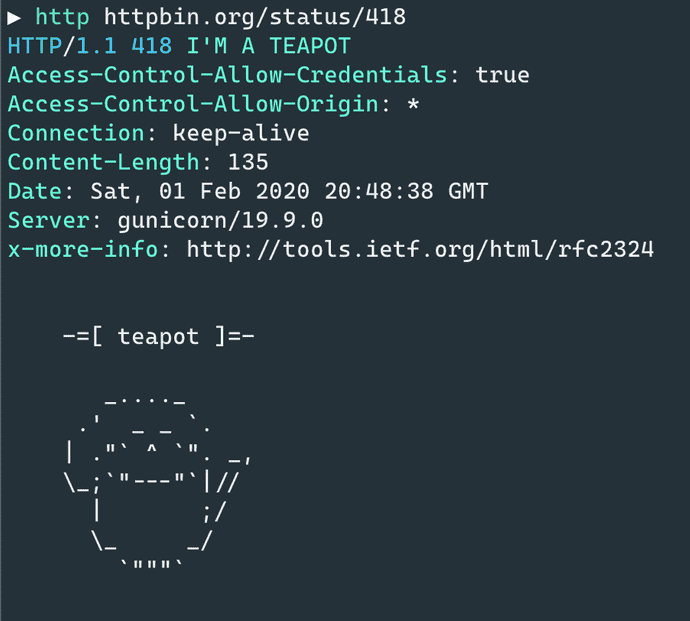
- htop: “an interactive process viewer for Unix systems”, which I use instead of the macOS
Activity Monitor.app

- Midnight Commander: a visual file manager

- tree: List contents of directories in tree-like format
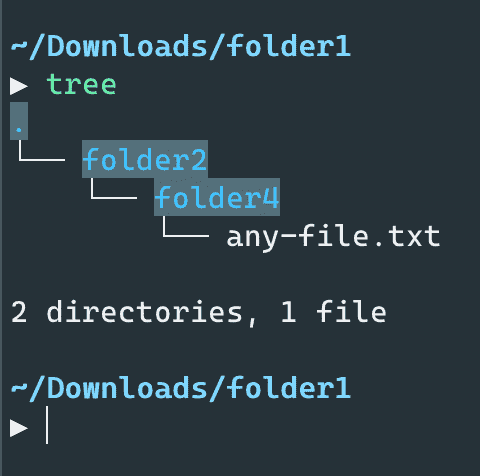
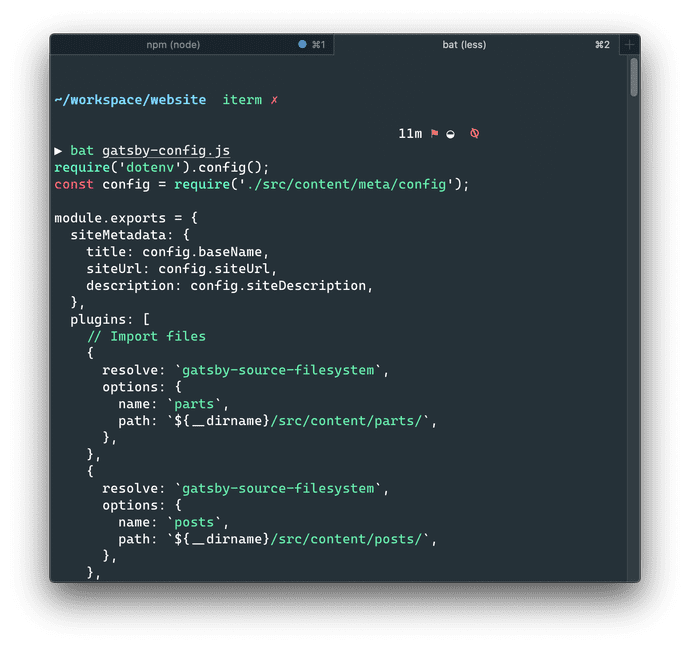
- bat: a
catclone with syntax highlighting and Git integration
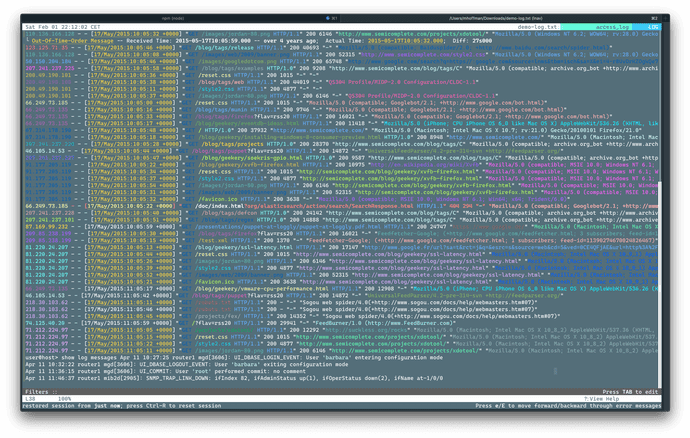
- lnav: an advanced log file viewer
kubectl: Kubernetes command-line tool to run commands against Kubernetes clusters
watch: Linux watch command, which is really helpful to run commands at a regular interval
Free course
I highly recommend the free Command Line Poweruser course from Wes Bos if you want to learn more about ZSH.
Conclusion
I am still at the beginning of my terminal journey but I really enjoy it so far. Using the terminal more often I could reduce the time I need to grab my mouse and many operations can be done much faster using the CLI than using a graphical interface. And of course, you look like a cool hacker even if you are just browsing directories.
Let me know what useful CLI tools you are using and what productivity tips you can share with me and the community.

Originally published at https://www.mokkapps.de.


