How To Build An Angular App Once And Deploy It To Multiple Environments

Cover
In my last projects, we always had the same requirement: Build the application once and deploy the same build fragment to multiple environments. This leads to some technical challenges, as we need to be able to inject environment-specific information to our application during runtime.
In this article, I want to propose some solutions to solve this problem.
Build once — deploy everywhere
Most software projects are done in an agile way so we often use Continous Delivery. The idea is to deliver releases in short cycles by an automated software release process. This process is realized by building a corresponding pipeline that typically checks out the code, installs dependencies, runs tests and builds a production bundle.
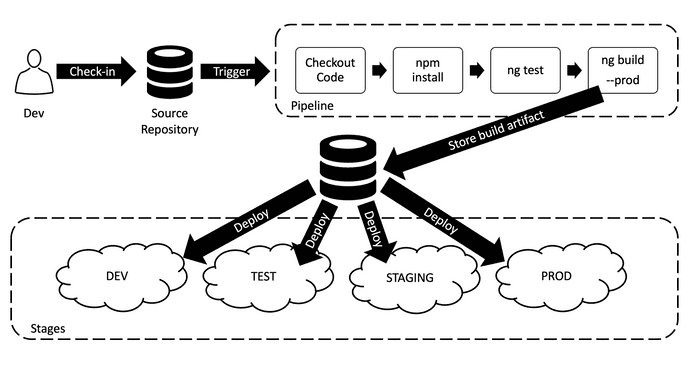
This build artifact is then passed through multiple stages where it can be tested. Followed is an exemplary stage setup:
DEV: development environment which is mainly used by developers. A new deployment is automatically triggered by pushing a commit todevelopbranch.TEST: test environment which is mostly used for automated tests and user tests. A new deployment is automatically triggered by pushing a commit tomasterbranchSTAGING: this environment should be as similar as possible as thePRODenvironment. It is used for final acceptance tests before aPRODdeployment of the build artifact is manually triggered.PROD: the "final" environment which is used by the customers, deployment is triggered manually
The following image shows this process as graphical representation:
Why build once?
Of course, we could just rebuild our application for every environment in our pipelines. But, then there could be a chance that the build artifact on TEST is not the same as the one used in PROD. Unfortunately, a build process is not deterministic even if it is done in an automated pipeline as it depends on other libraries, different environments, operating systems, and environment variables.
The Challenge
Building only one bundle is quite easy but it leads to one big challenge we need to consider: How can we pass environment-specific variables to our application?
Angular CLI provides environment files (like environment.ts) but these are only used at build time and cannot be modified at runtime. A typical use-case is to pass API URLs for each stage to the application so that the frontend can talk to the correct backend per environment. This information needs to be injected into our bundle per deployment on our environments.
Backend services can read environment variables but unfortunately, the frontend runs in a browser and there exists no solution to access environment variables. So we need to implement custom solutions that I want to present to you in the next chapters.
Solution 1: Quick & dirty
This is the quickest but “dirtiest” way to implement runtime environment variables.
The idea is to evaluate the browser URL and set the variables according to this information at the application initialization phase using Angular’s APP_INITIALIZER:
app.module.ts
providers: [{
    provide: APP_INITIALIZER,
    useFactory: (envService: EnvService) => () => envService.init(),
    deps: [EnvService],
    multi: true
  }],
env.service.ts
export enum Environment {
  Prod = 'prod',
  Staging = 'staging',
  Test = 'test',
  Dev = 'dev',
  Local = 'local',
}

@Injectable({ providedIn: 'root' })
export class EnvService {
  private _env: Environment;
  private _apiUrl: string;

  get env(): Environment {
    return this._env;
  }

  get apiUrl(): string {
    return this._apiUrl;
  }

  constructor() {}

  init(): Promise<void> {
    return new Promise(resolve => {
      this.setEnvVariables();
      resolve();
    });
  }

  private setEnvVariables(): void {
    const hostname = window && window.location && window.location.hostname;

    if (/^.*localhost.*/.test(hostname)) {
      this._env = Environment.Local;
      this._apiUrl = '/api';
    } else if (/^dev-app.mokkapps.de/.test(hostname)) {
      this._env = Environment.Dev;
      this._apiUrl = 'https://dev-app.mokkapps.de/api';
    } else if (/^test-app.mokkapps.de/.test(hostname)) {
      this._env = Environment.Test;
      this._apiUrl = 'https://test-app.mokkapps.de/api';
    } else if (/^staging-app.mokkapps.de/.test(hostname)) {
      this._env = Environment.Staging;
      this._apiUrl = 'https://staging-app.mokkapps.de/api';
    } else if (/^prod-app.mokkapps.de/.test(hostname)) {
      this._env = Environment.Prod;
      this._apiUrl = 'https://prod-app.mokkapps.de.de/api';
    } else {
      console.warn(`Cannot find environment for host name ${hostname}`);
    }
  }
}
Now we can inject the EnvService in our code to be able to access the values:
@Injectable({ providedIn: 'root' })
export class AnyService {
  constructor(private envService: EnvService, private httpClient: HttpClient) {}

  users(): User[] {
    return this.httpClient.get<User[]>(`${this.envService.apiUrl}/users`);
  }
}

Solution 2: Provide environment configuration via REST endpoint
As already mentioned, a backend service can read environment variables so we can use this mechanism to fetch an environment-specific configuration from such an endpoint. Frontend applications (and SPAs in general) usually always communicate with one (or multiple) backend services to fetch data.
We assume that one of these backend services now provides an endpoint that delivers environment-specific variables (see interface Configuration below) and we take a look at a possible Angular implementation to read those configurations.
First we need a EnvConfigurationService which fetches the configuration from the backend:
export enum Environment {
  Prod = 'prod',
  Staging = 'staging',
  Test = 'test',
  Dev = 'dev',
  Local = 'local',
}

interface Configuration {
  apiUrl: string;
  stage: Environment;
}

@Injectable({ providedIn: 'root' })
export class EnvConfigurationService {
  private readonly apiUrl = 'http://localhost:4200';
  private configuration$: Observable<Configuration>;

  constructor(private http: HttpClient) {}

  public load(): Observable<Configuration> {
    if (!this.configuration$) {
      this.configuration$ = this.http
        .get<Configuration>(`${this.apiUrl}/config`)
        .pipe(shareReplay(1));
    }
    return this.configuration$;
  }
}
We want that each new subscriber gets the cached configuration without triggering a new HTTP request, therefore we use the shareReplay RxJS operator. This caching makes only sense if the configuration is not dynamic, otherwise, you might want to remove the shareReplay operator.
The configuration can then be loaded in our AppModule at application initialization:
providers: [{
    provide: APP_INITIALIZER,
    useFactory: (envConfigService: EnvConfigurationService) => () => envConfigService.load().toPromise(),
    deps: [EnvConfigurationService],
    multi: true
  }],
Solution 3: Mount configuration files from environment
Sometimes we do not have control over our backend and therefore cannot add such a configuration endpoint. We can solve this problem by providing local configuration files in our assets folder. Loading such local JSON configurations can be done by using the same EnvConfigurationService demonstrated above, we just need to replace
private readonly apiUrl = 'http://localhost:4200';
by
private readonly configUrl = 'assets/config/config.json';
Now we need to replace this config.json file per environment with an environment-specific file. This is done by mounting a configuration to the assets/config folder if our pod is mounted.
The technical implementation depends on your CI tool, for example using Helm you can use a ConfigMap and mount a volume:
volumeMounts:
  - name: env-config
    mountPath: /usr/share/nginx/html/assets/config
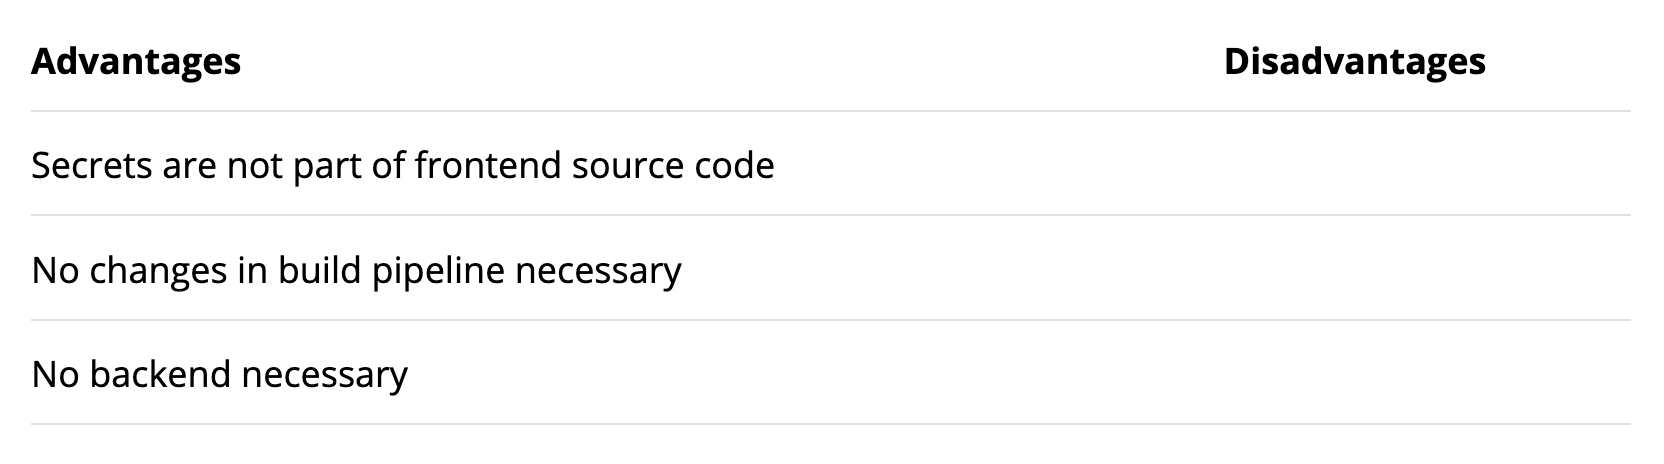
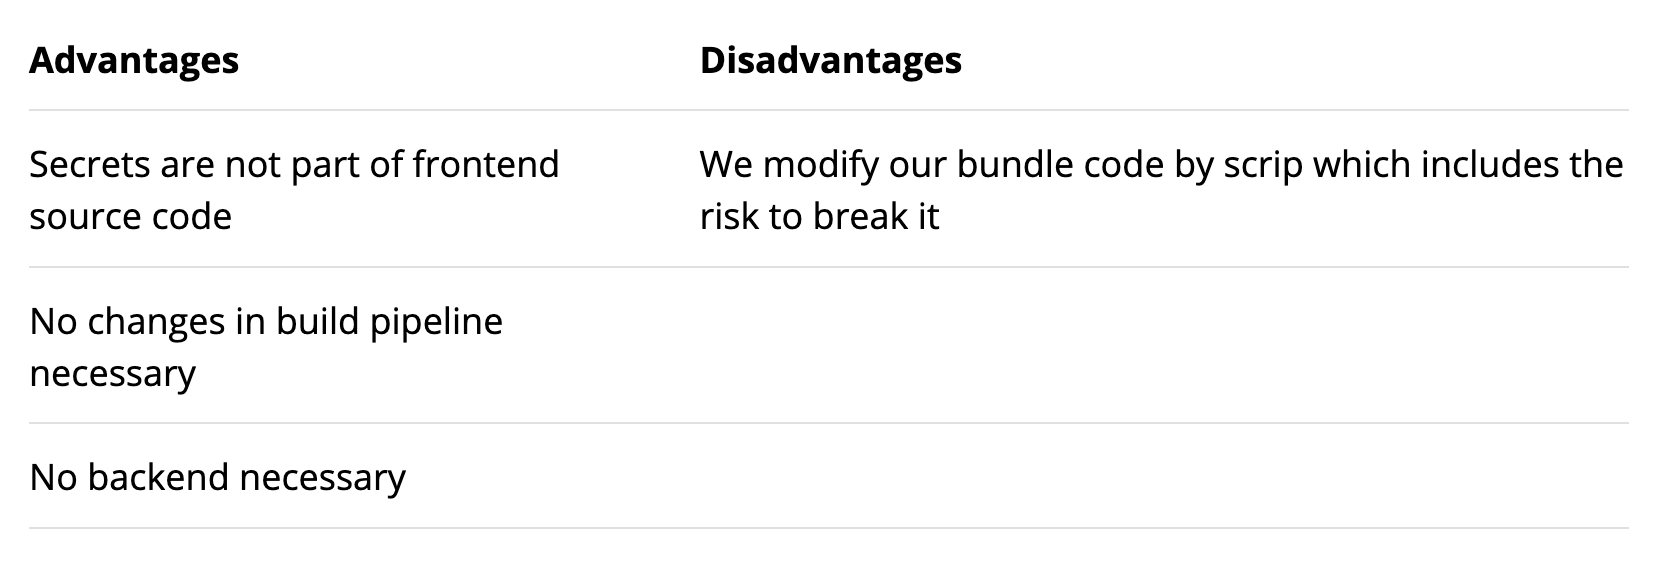
Solution 4: Override environment file values
The idea is to use Angular’s environment.ts (for local development) and environment.prod.ts (for all other stages) with placeholder values which are overwritten per deployment:
export const environment = {
  apiUrl: 'MY_APP_API_URL',
  stage: 'MY_APP_STAGE',
};
If our pod is started we can then run the following script, for example in a Dockerfile, that overrides these placeholder values:
#!/bin/sh # replace placeholder value in JS bundle with environment specific values sed -i "s#MY_APP_API_URL#$API_URL#g" /usr/share/nginx/html/main.*.js
Conclusion
In my opinion, it totally makes sense to build the application once and then deploy this artifact to all available stages. This way, we can at least ensure that we use the same artifact in each environment. But we then need to care about environment-specific variables which we need to pass to our build during runtime.
Angular’s environment files are just used during build time so cannot help in such a setup, except we override placeholder values in the bundle which feels a bit “hacky”.
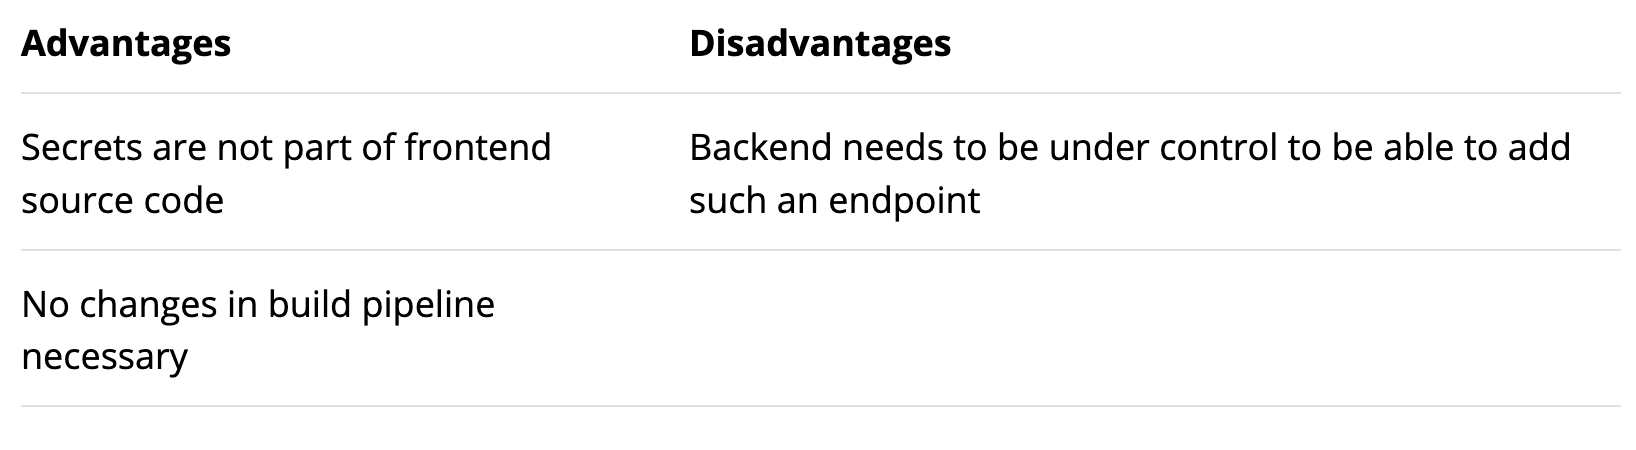
The best solution is to load environment-specific configurations from a backend or from the local assets folder if you do not have control over the backend you are using in your Angular application. This way you do not have secrets in your frontend code and you are not modifying the source code of your build artifact.
Originally published at https://www.mokkapps.de.